www.2e-images.co.uk
![]() 2E
Images Photography and Local History
2E
Images Photography and Local History
www.2e-images.co.uk
![]()
| Contents
Page
Encounter All photographs on these pages are the property of the photographer Brian Tuohey. They may not be re-published in any form without written permission, but may be downloaded for personal use. Requests for commercial or charitable use of these or any other photographs will be considered. Please do not link directly to pictures, but links to this page are welcome. |
Birchwood's
Wartime Bunkers
Introduction Risley Royal Ordnance Factory (ROF) was a filling factory. It received the explosives in bulk, usually by rail, from other ROFs where they were manufactured. Risley specialised in filling them into the various casings to produce the finished munitions. There were 16 filling factories around the country and Risley was known as Filling Factory No. 6. Others in the north west included Chorley (No. 1) and Kirkby (No. 7). One of the features common to all of the filling factories was an area of storage bunkers where the finished munitions were stored awaiting dispatch. The areas within the filling factories were all numbered in the same way. Storage bunkers were designated Area 9. Risley had 20 such bunkers and Area 9 is roughly in the area of the main field in Birchwood Forest Park today. When the new town area of Birchwood was created, most of the bunkers were demolished, but 4 of them were left in place and can still be seen today. Location and Layout In Risley, the Group 9 area was roughly square, bounded by roads which separated it from the adjacent parts of the factory. Road naming was very functional within the factory. Roads running north-south were designated "Streets" with a number. East-west roads were designated "Avenues" with a letter. The roads surrounding the bunkers and their location in present day terms were:
Every building within each group was individually numbered. Within Area 9 I have seen two slightly different numbering systems on different maps. In the illustration on the right, I have followed the system that I saw first, in which the bunkers are numbered 9/1 to 9/22. They were numbered in pairs, so that 9/1 and 9/2 were next to each other, either side of the service road. The rail entrance was always on the south side and on the corner nearest the service road. On this numbering system, 9/11 and 9/12 appear to be missing, but they were allocated to two bike sheds next to Avenue D East between bunkers 9/2 and 9/13. The other numbering I have seen shows the bunkers as 9/1 to 9/20 and the bike sheds as 9/21 and 9/22. In addition to the main rail entrances, each bunker had at least one other doorway. I have not found any old maps where they are marked, but from the evidence of the remaining bunkers, it seems likely that those on the outside (the rows starting with 9/1 and 9/14) had doors facing Streets 4 and 7, whereas those in the middle rows (starting with 9/2 and 9/13) had doors on their northern sides. The bunkers were simple rectangular concrete buildings with support beams inside and were covered and surrounded with earth to make them more difficult to spot from the air. I read somewhere that sheep used to graze on them, although I have not seen any photos to confirm this. All of the bunkers around Street No 5 were within what is now the main playing field of Birchwood Forest Park. The south end of Street No 5 now forms the start of the service road from Ordnance Avenue and the roadways to the entrances of Bunkers 9/1 and 9/2 can still be seen. Some of the bunkers around Street No 6 were on the edge of the park and just outside. Bunker 9/19 occupied the site where the Ranger Centre now sits. Moss Gate towards Birchwood Way cuts through the middle of the site of 9/21. 9/18 and 9/20 were either side of the roundabout at the Forest Park entrance, 9/18 sitting partly in the car park and 9/20 at the start of Fisherfield Drive. 9/22 was also across Fisherfield Drive, immediately after Bramshill Close. The Bunkers Today When the old factory site was being cleared, four of the bunkers were left standing. They can all be seen in the Forest Park to this day, all on the south side, close to Ordnance Avenue. In the plan above, the bunkers that remain are shown in green, those that were demolished are shown in red. When the park was created, landscaping work changed the profile of the bunkers, most notably 9/3 which has much more gentle slopes on 3 sides and 9/13 which looks almost twice as wide as it was. Originally I would imagine that there must have been a plan to use the bunkers in some way. For a few years in the mid 1980s, Bunker 9/1 was used for an exhibition on the history of the area, but I am not aware of any of the other bunkers being used in recent years. I was told that when the exhibition closed, the bunkers were filled in with some sort of black ash that was pumped in from the top, a dreadful example of short-sightedness that would make it much more difficult to reopen any of them. Whilst not wanting to believe this, my fears were confirmed in 2009. The old rear door to bunker 9/13 had been partly prised open. Whilst now replaced with a much more secure closure, for a while it was possible to look inside, and there was a big pile of the ash, just as had been described.
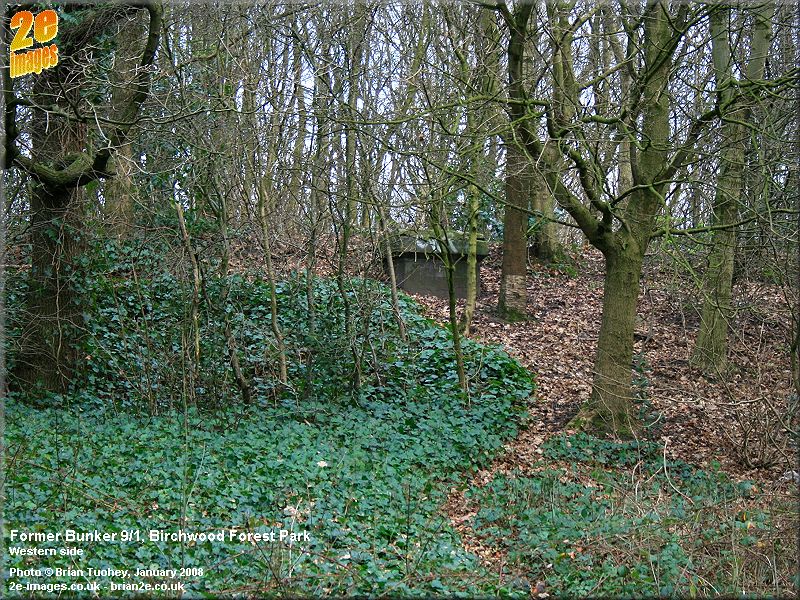
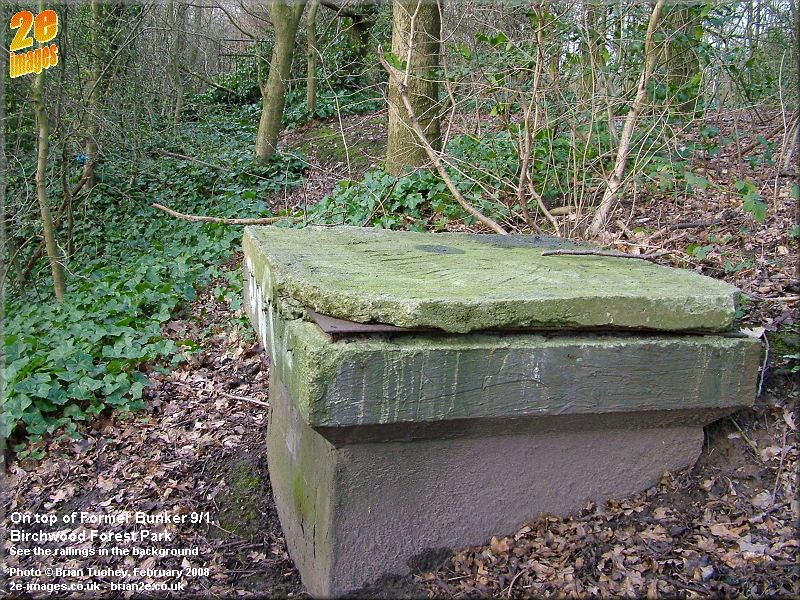
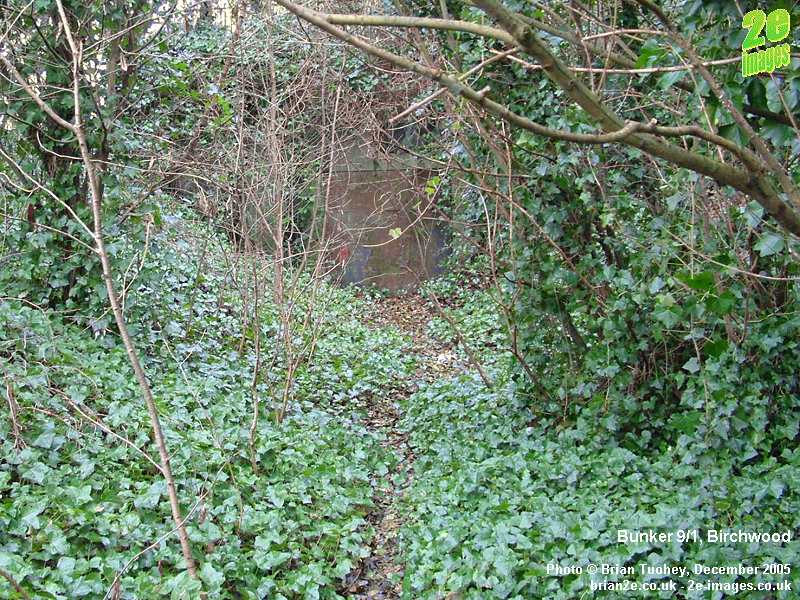
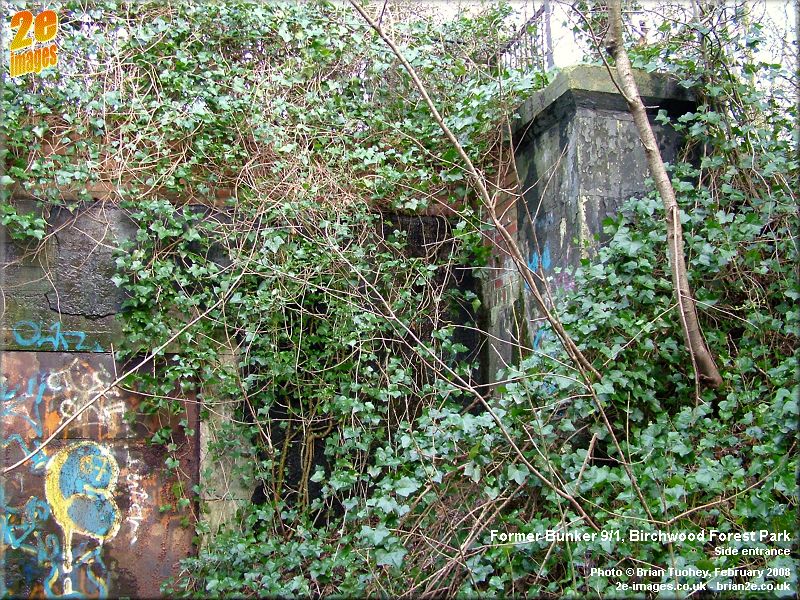
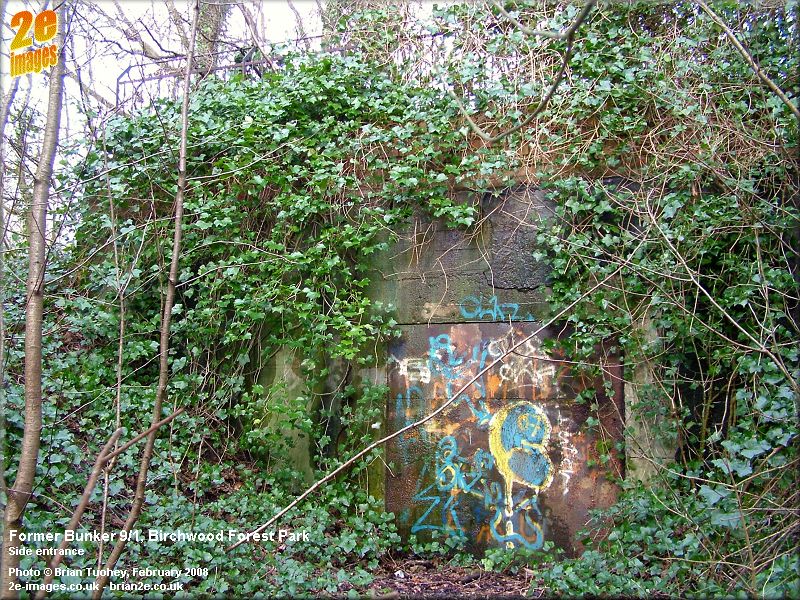
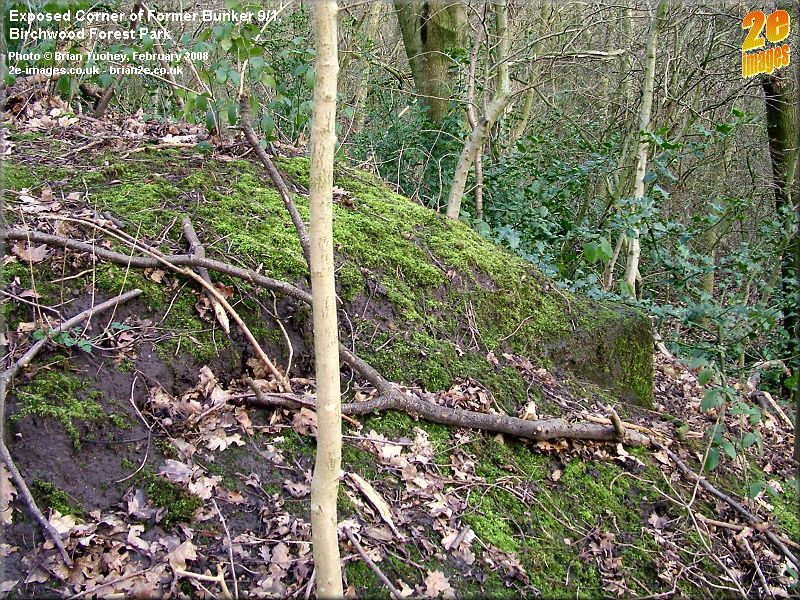
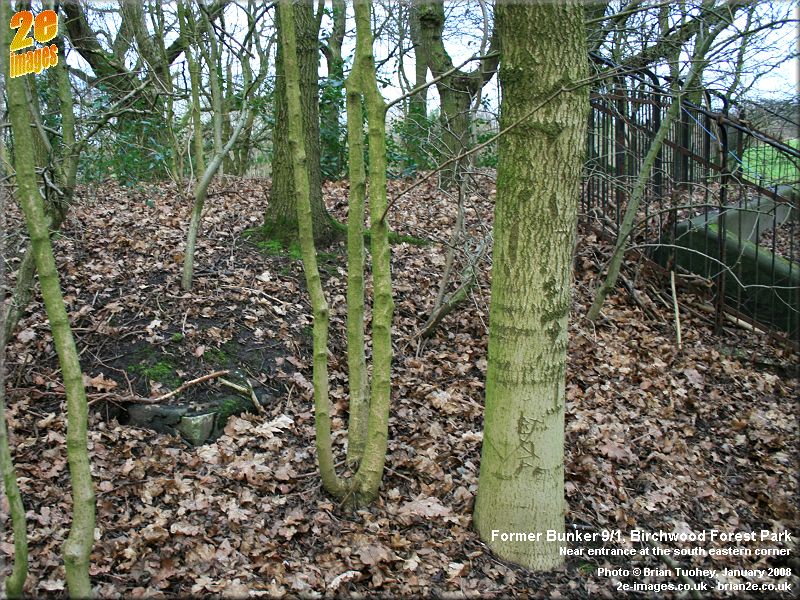
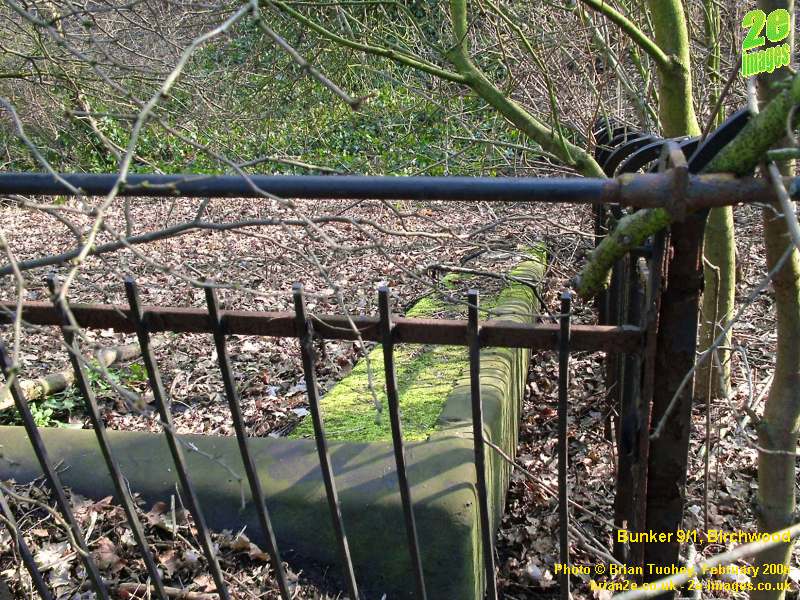
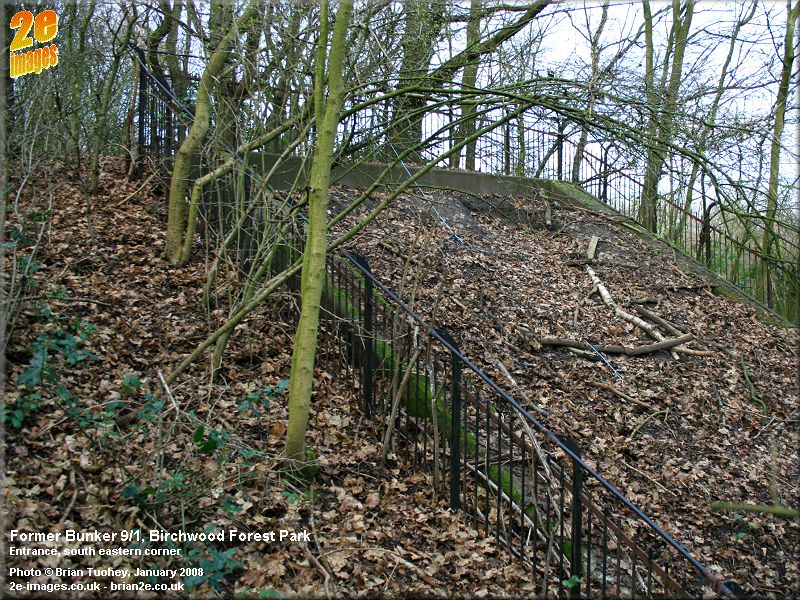
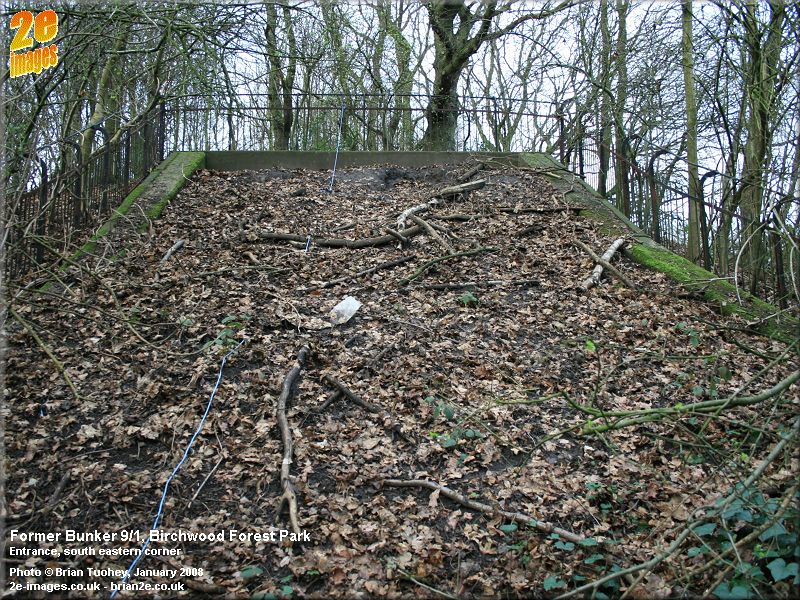
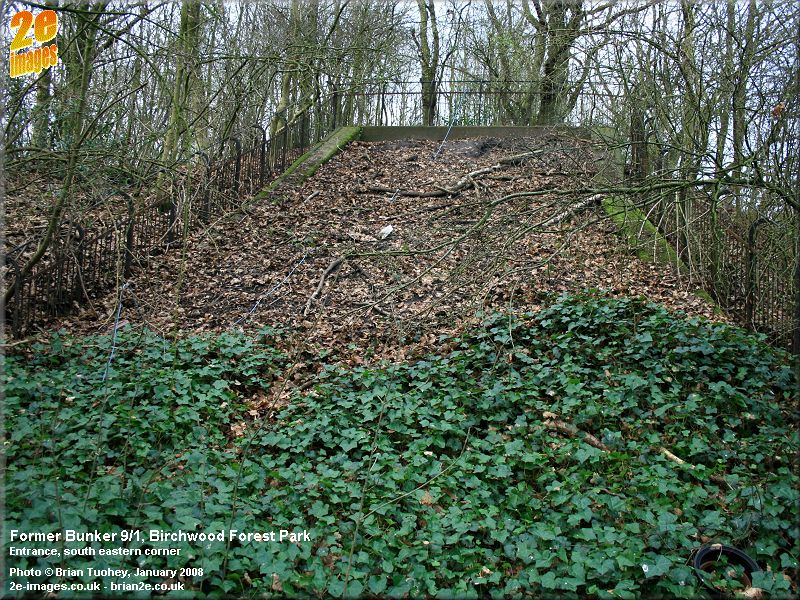
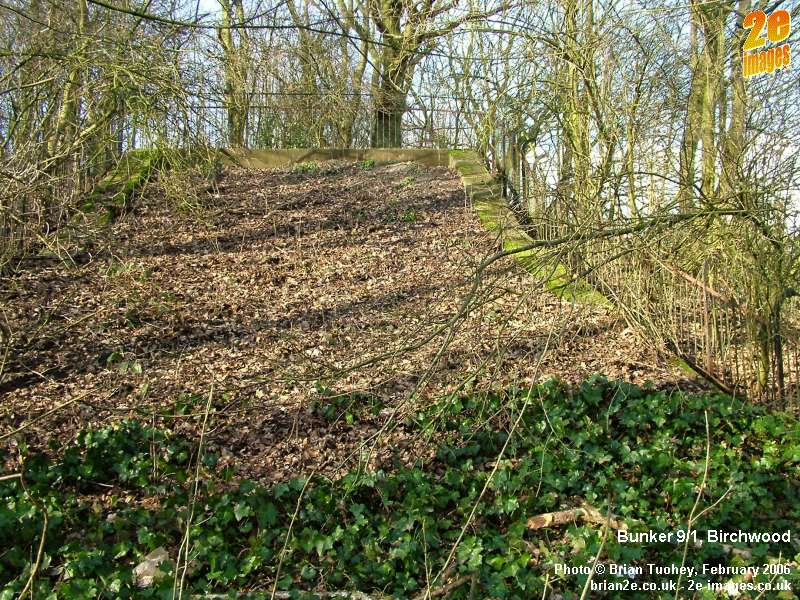
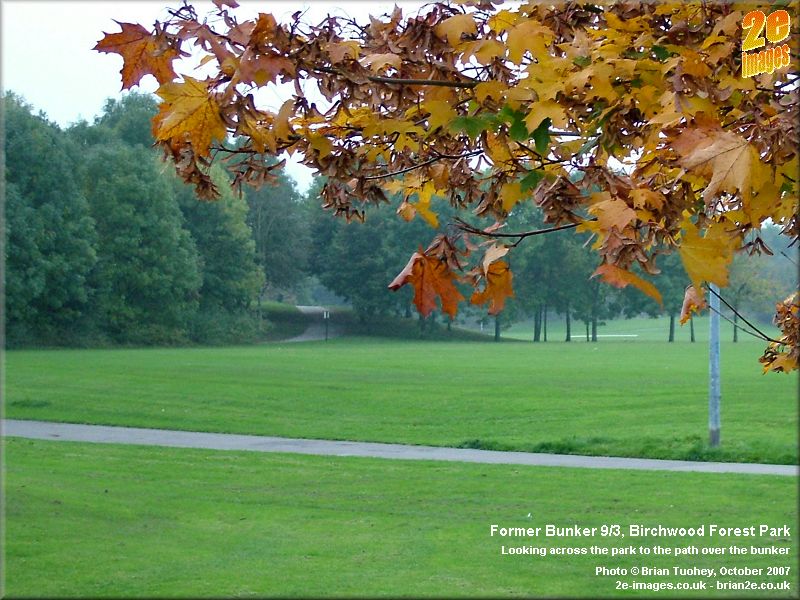
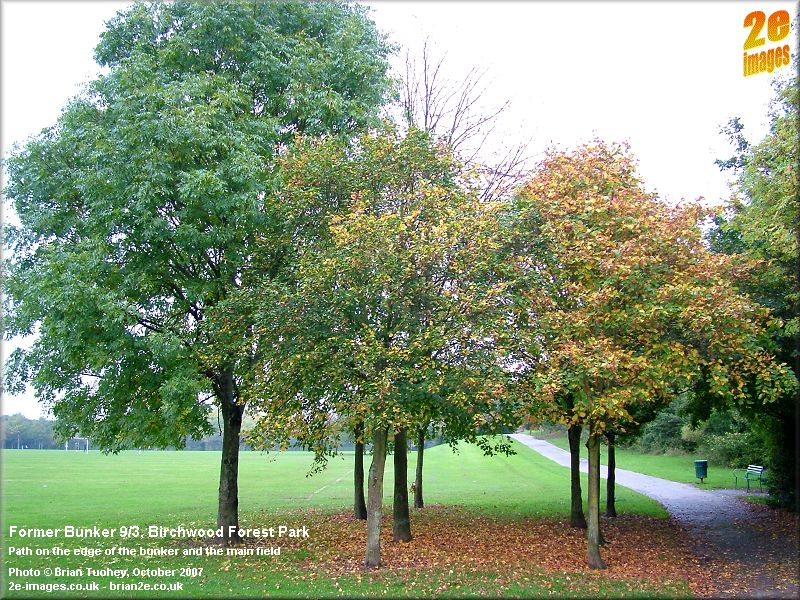
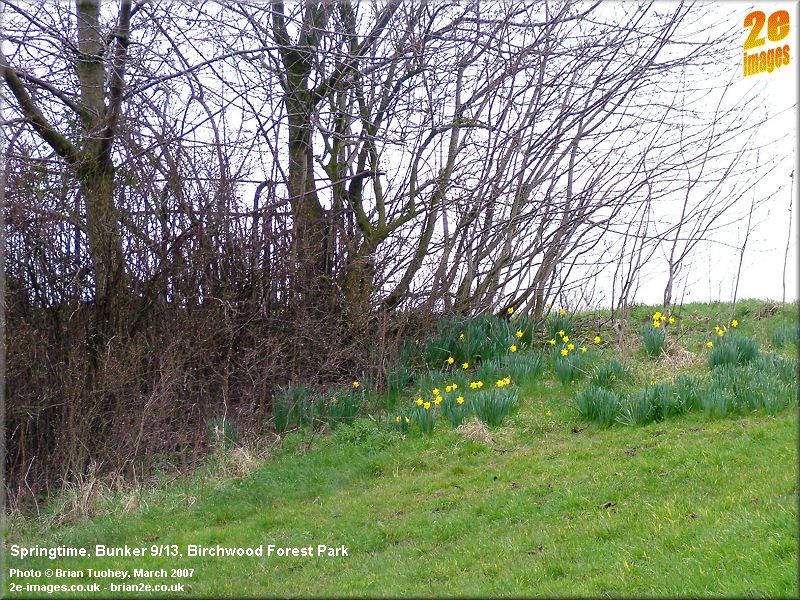
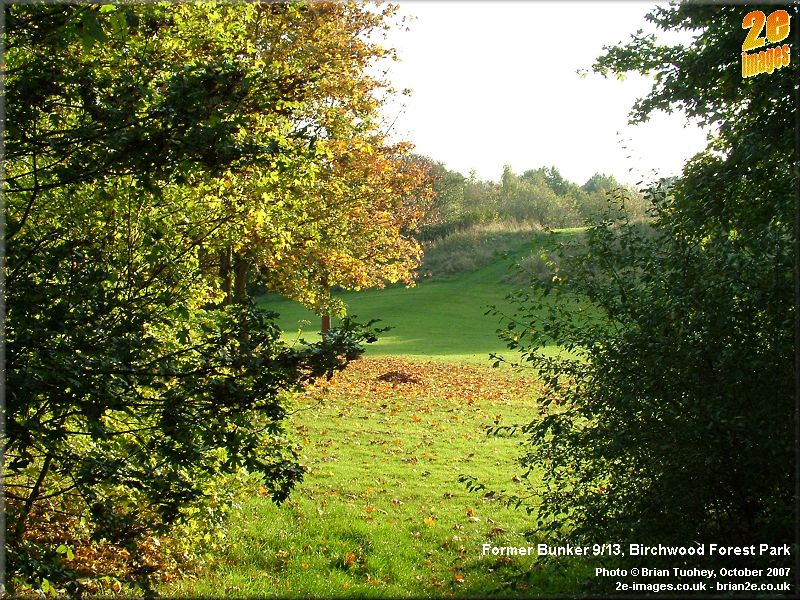
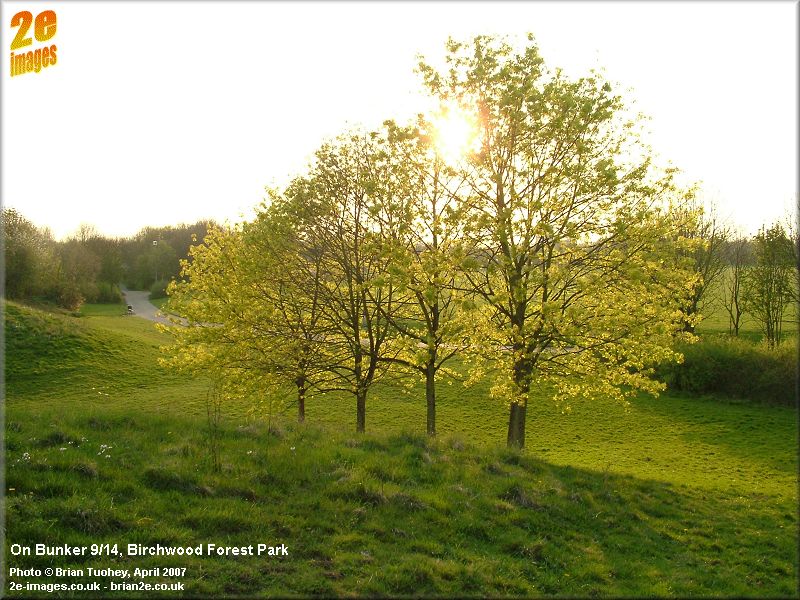
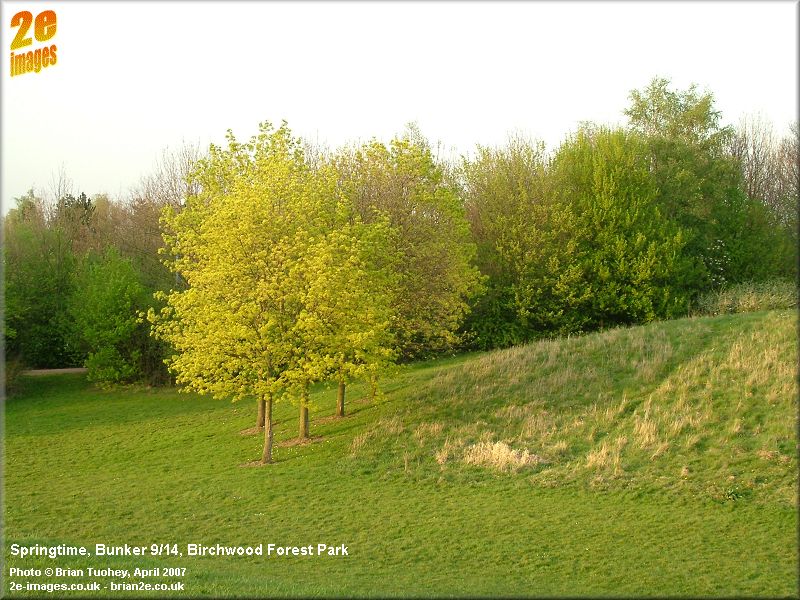
Gallery A lot of the photos were taken in the winter time. This is quite deliberate, as it is much easier to see some of the details without all the leaves and vegetation. I have also added some photos taken at other times of the year, as they show the park when it is much more colourful. Bunker 9/1 Nowadays, this is the most difficult of the old bunkers to spot, because it is tucked away in a corner of the park, overgrown and surrounded by trees. It is also the best preserved, retaining much more of its original shape, although there has been some softening of the slopes on its north side. This simply helps to make it less apparent from the path that runs right past it. It is close to Ordnance Avenue, between the underpass and the service road. This is the bunker that used to house the exhibition more than 20 years ago. The first few photos show the west side of the bunker. In the first two picture there is what looks as though it might have been a ventilation shaft. The next three pictures show the side entrance and the overgrown path that leads to it. I would imagine that this was the entrance that was used for the exhibition, unless the larger rail entrance was filled in more recently. This was probably the entrance that was used for the exhibition. There is another ventilation shaft next to this entrance. One corner of the bunker is just exposed. This can be seen in the 6th picture. The remaining pictures all show the larger entrance at the south eastern corner, now filled in. This entrance was serviced by road and rail. The railings were presumably added when the area was redeveloped, probably in the 1970s.
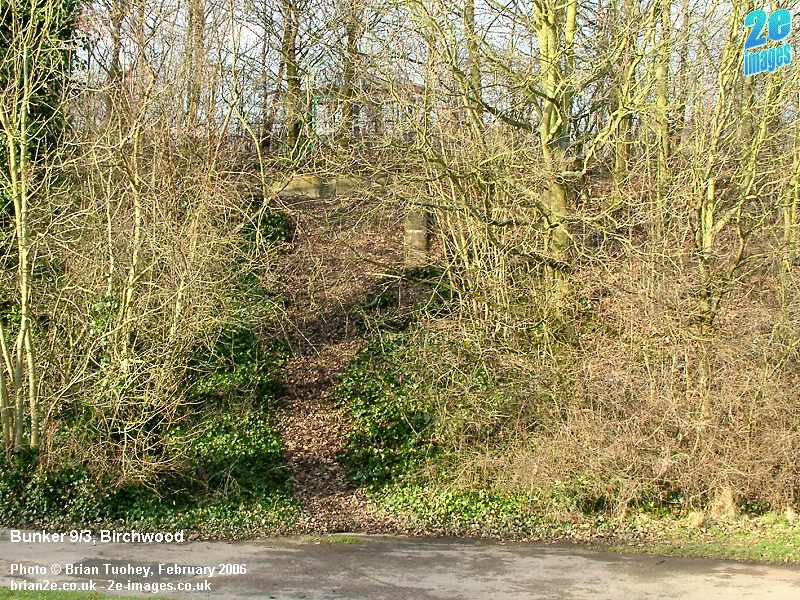
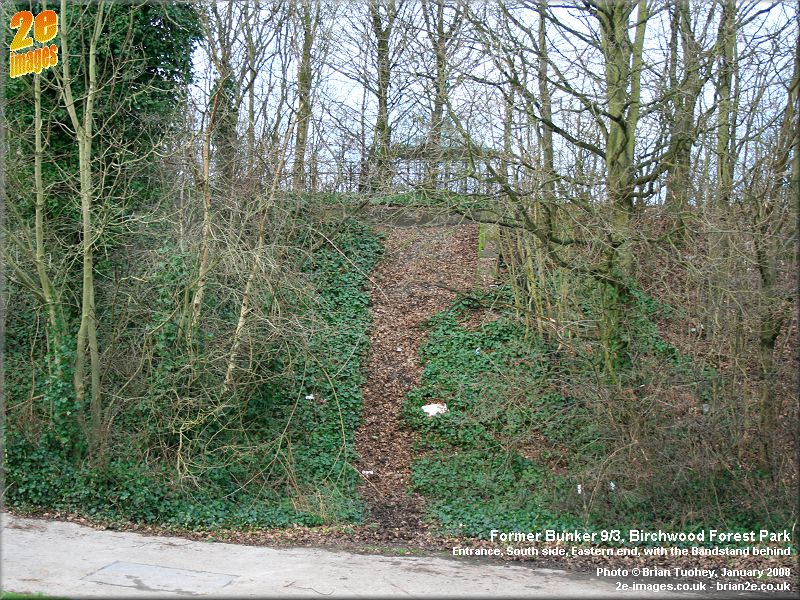
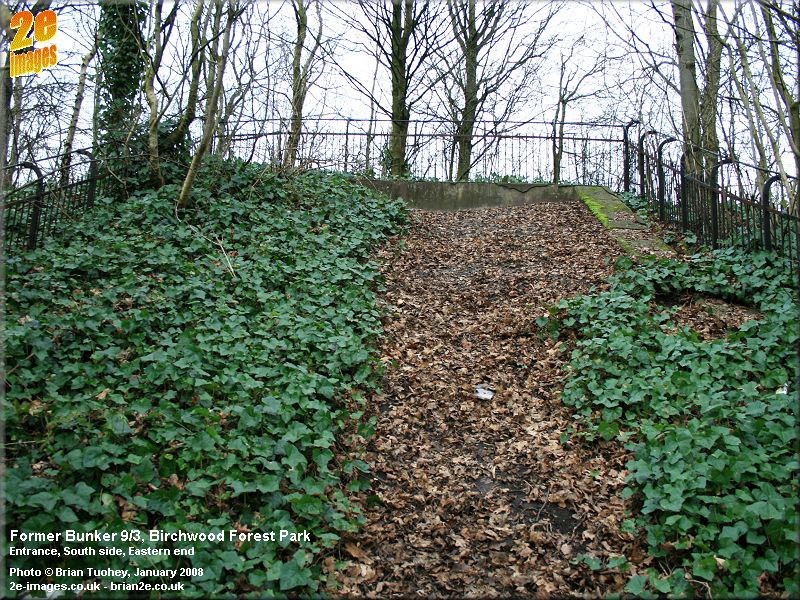
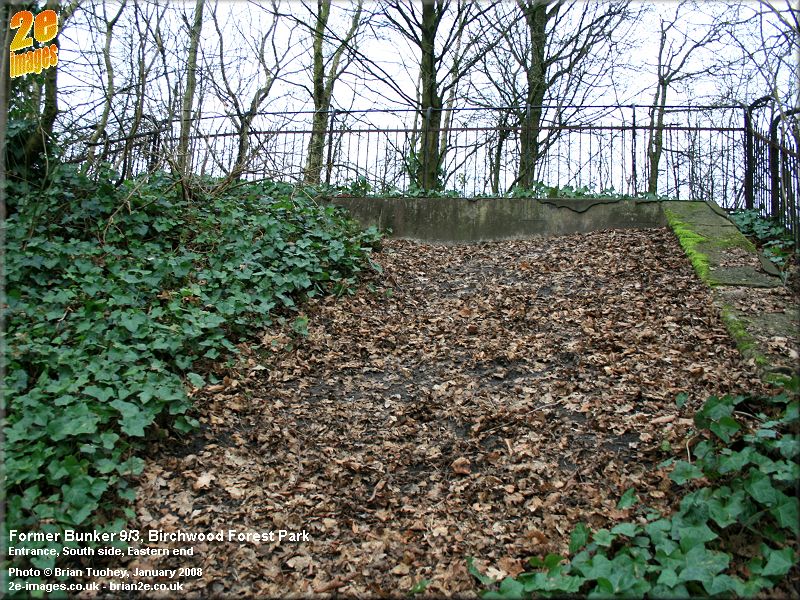
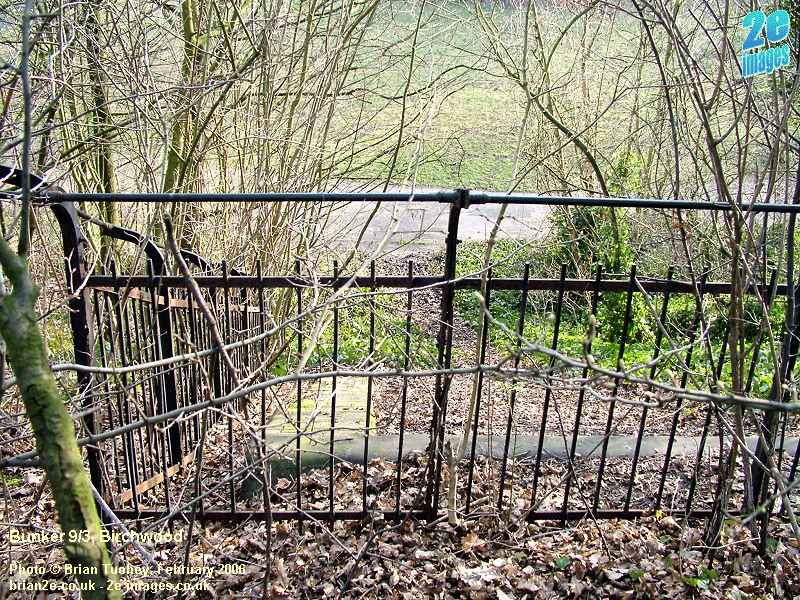
Bunker 9/3 One of the more obvious bunkers in the park, mainly because of its central position and the "bandstand" shelter on top of it. It is also the least well defined of the four surviving bunkers because landscaping around it has softened and changed the slopes on three sides. The side entrance cannot be seen at all and comparisons of its original shape with modern maps and aerial shots suggest that this side has been extended, so I would guess that the entrance is buried. The first 6 photos below all focus on the road and rail entrance at its south eastern corner. Again, the entrance area has been filled in, but it is gradually becoming more exposed each year. The fist 2 pictures were taken from the slopes of Bunker 9/1 and the bandstand shelter on the top of 9/3 can just about be seen through the trees.
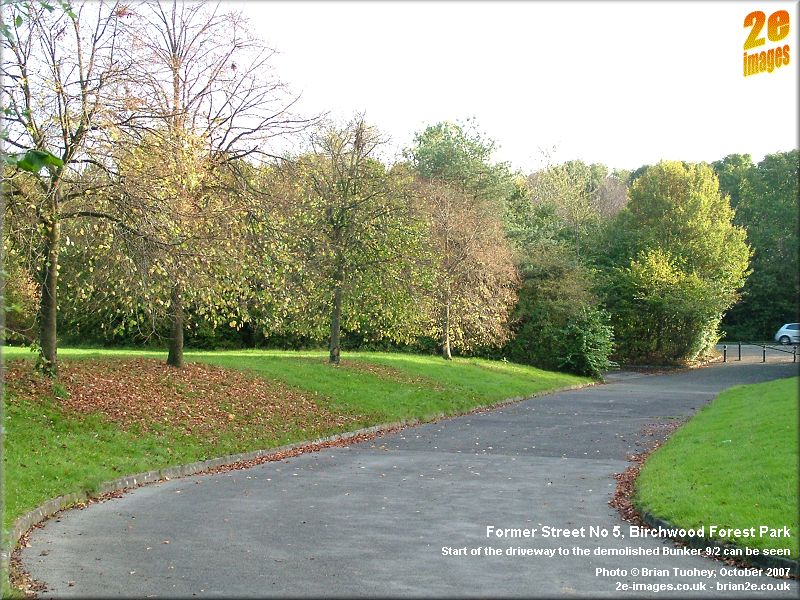
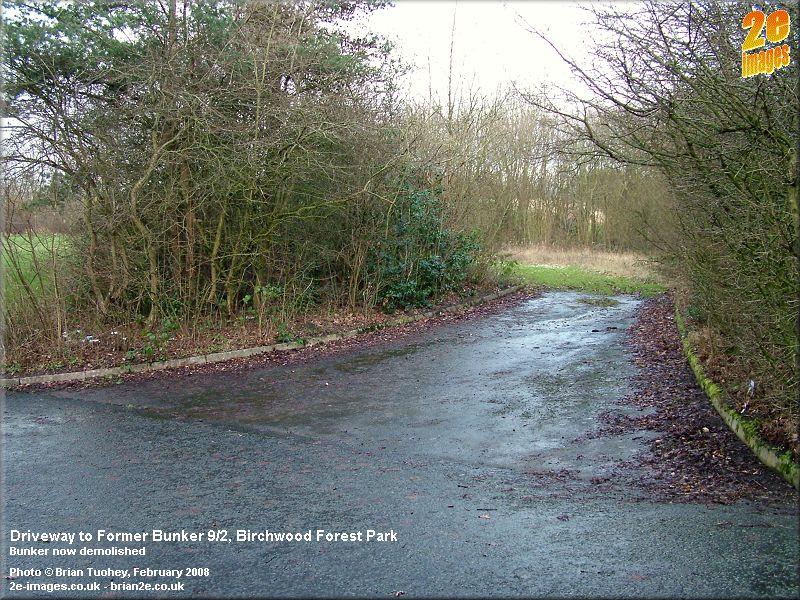
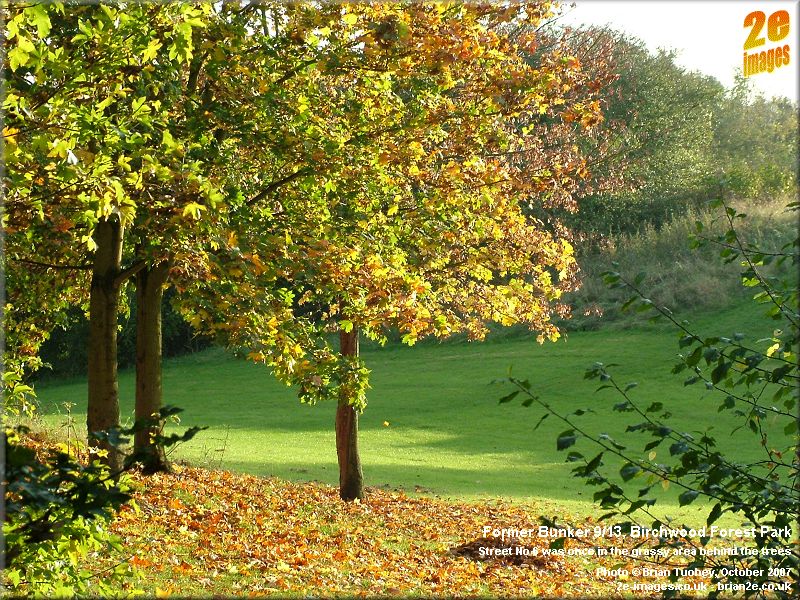
Street No 5 This road ran for the full length of the bunkers with a rail track alongside. There were road and rail spurs into each of the bunkers. Only the extreme south end of the Street still remains, now the start of a service road for the park. The driveways to Bunkers 9/1 and 9/2 (demolished) can still be seen close to Ordnance Avenue and they are shown in the 2nd and 3rd photos. In today's terms, the north end of Street No 5, where it met Avenue B East, would have been on the path leading up from the Ranger Centre, just before the steps to Moss Gate near Birchwood Way.
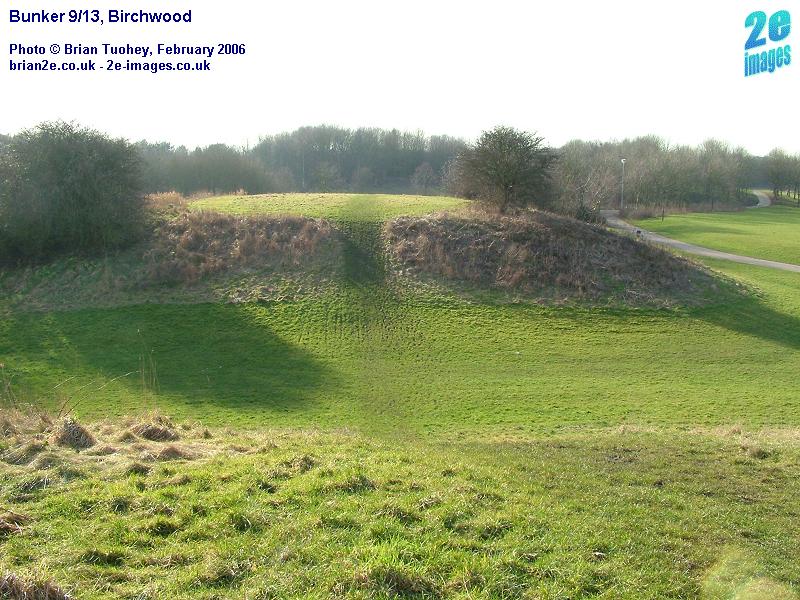
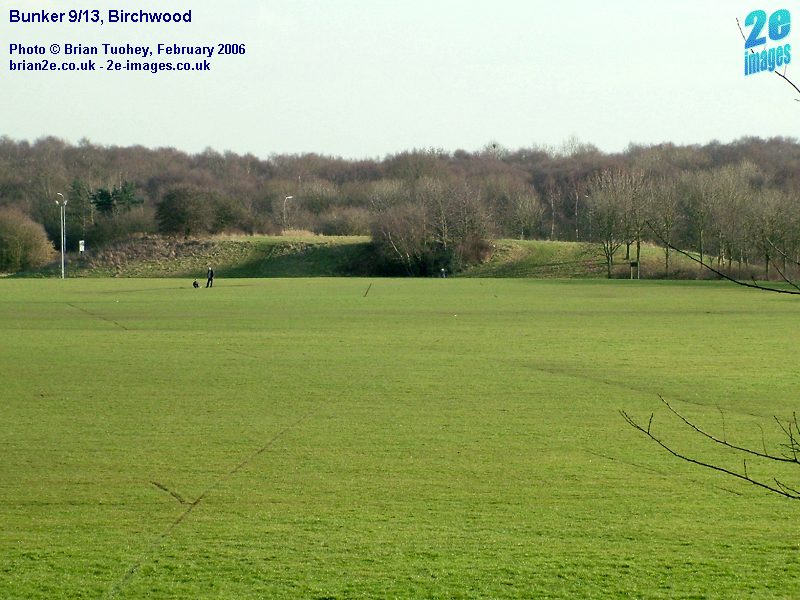
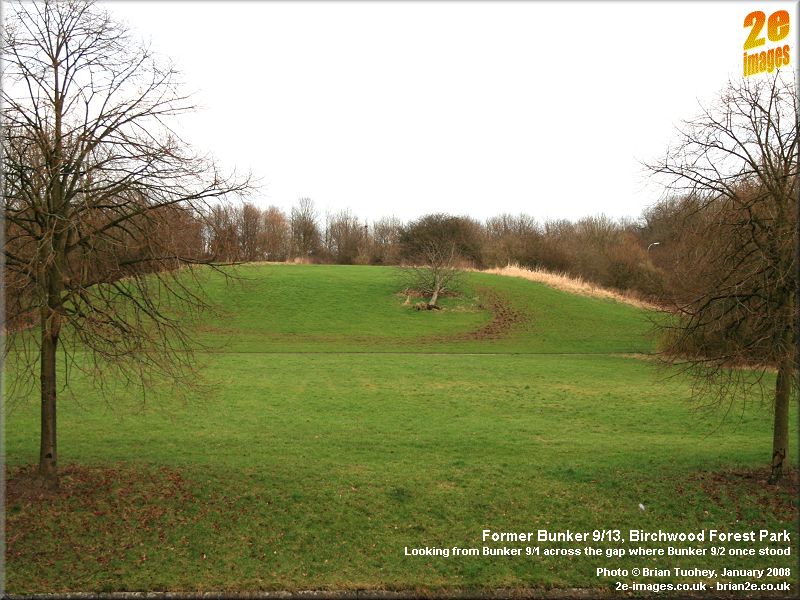
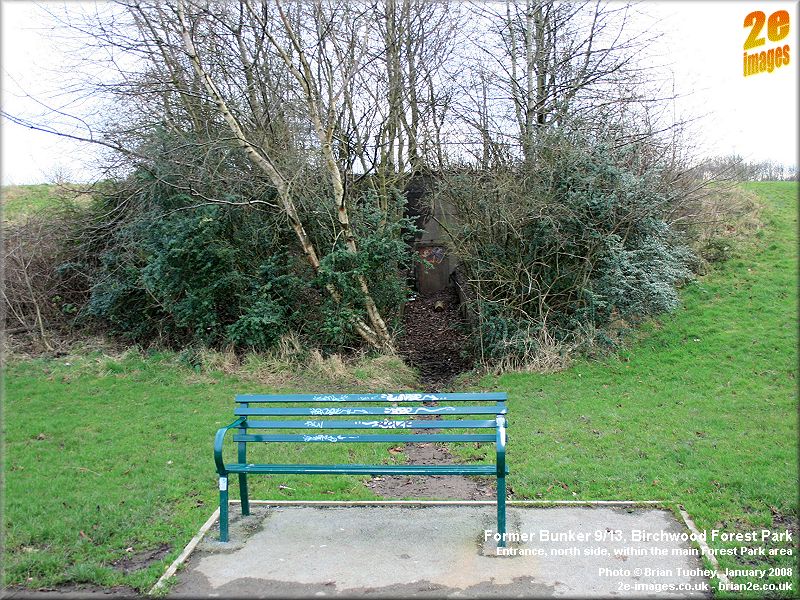
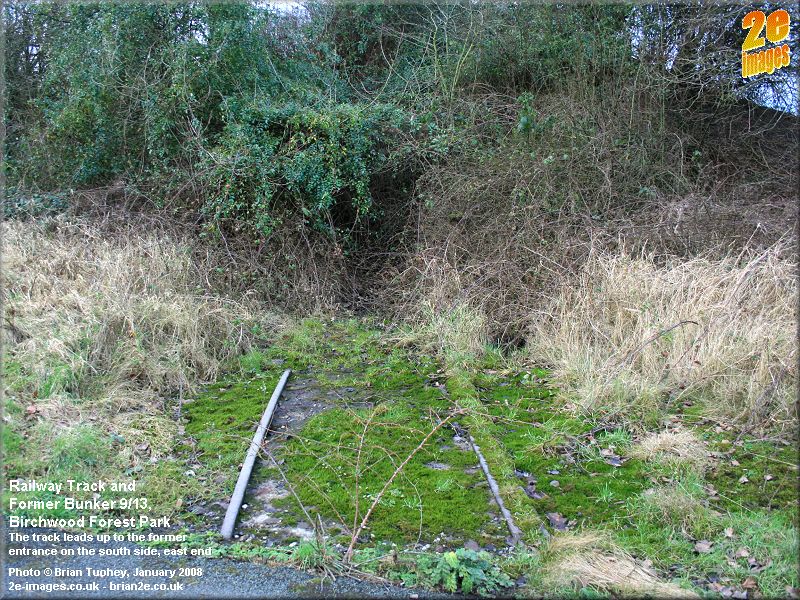
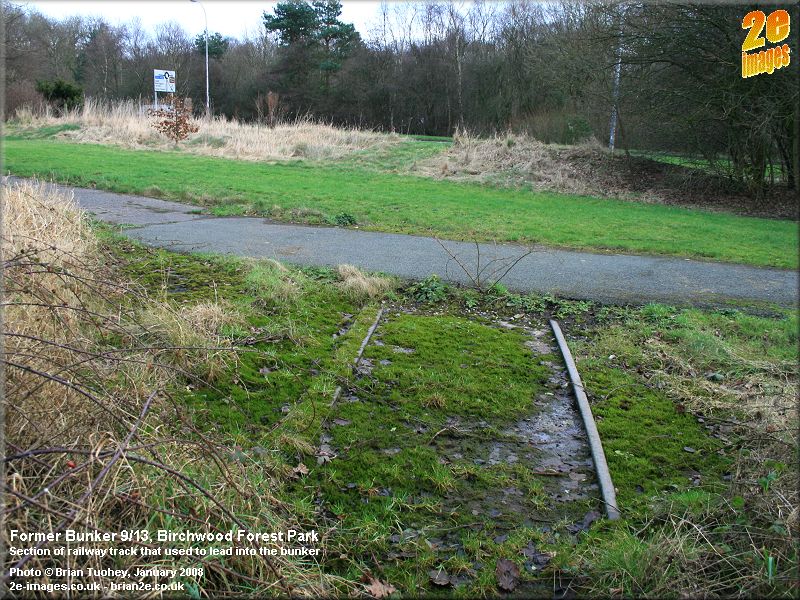
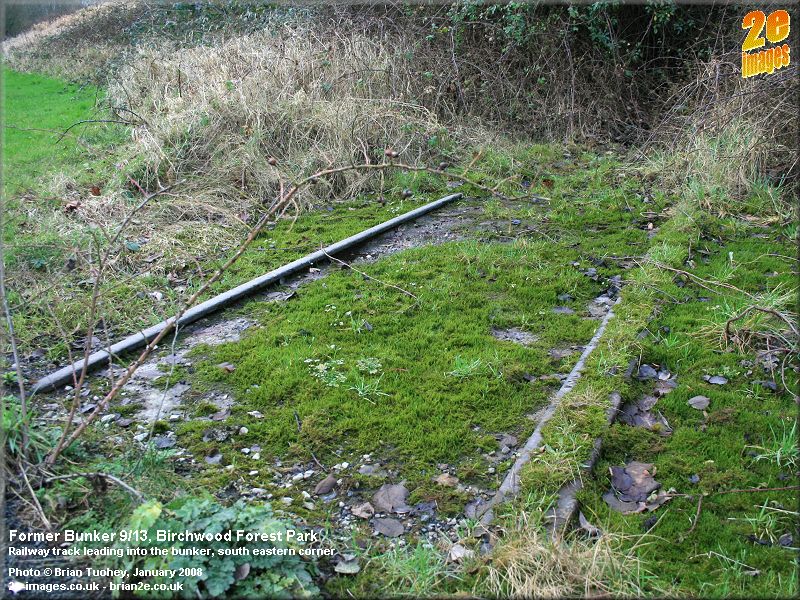
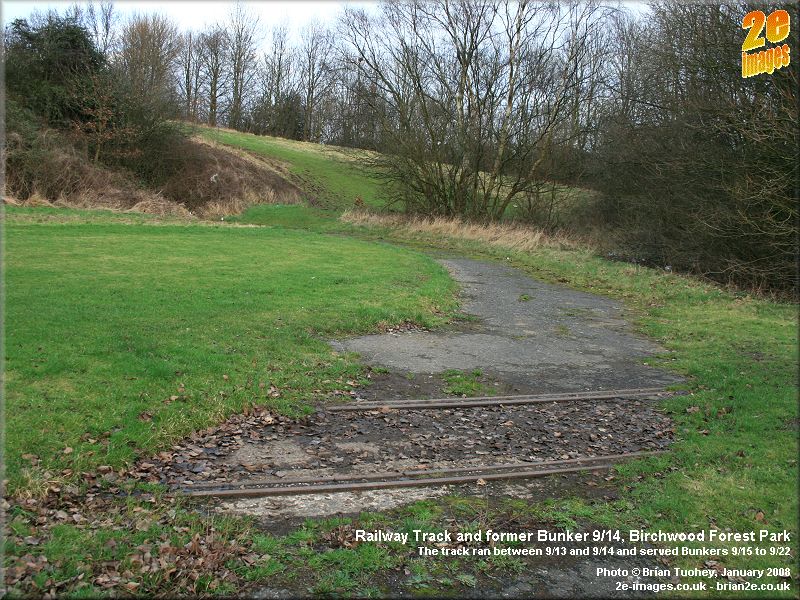
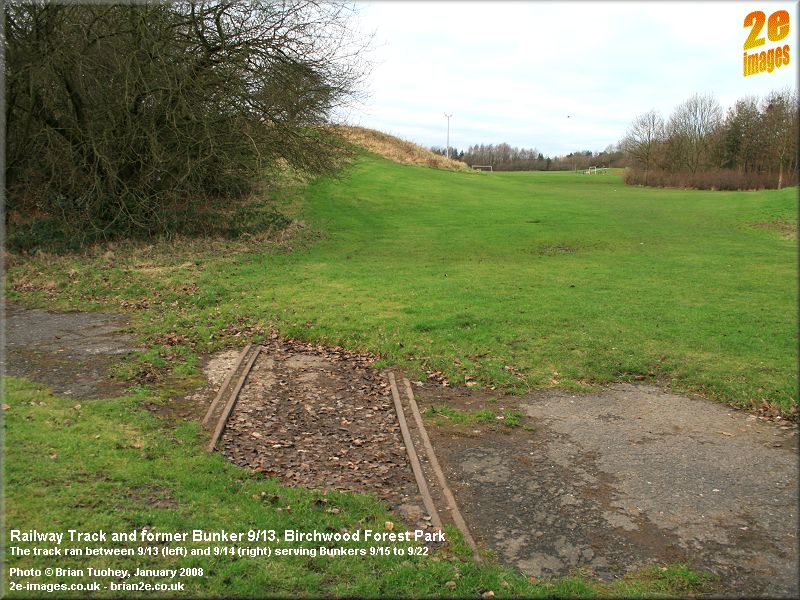
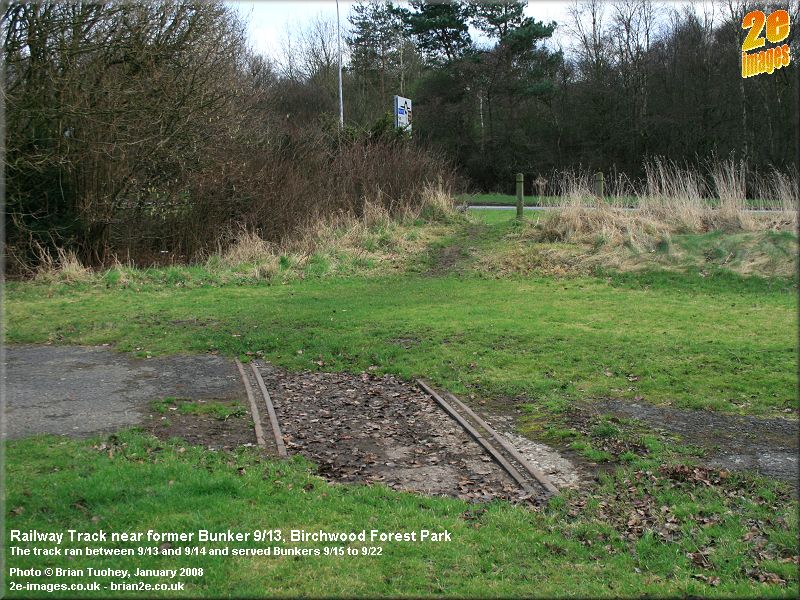
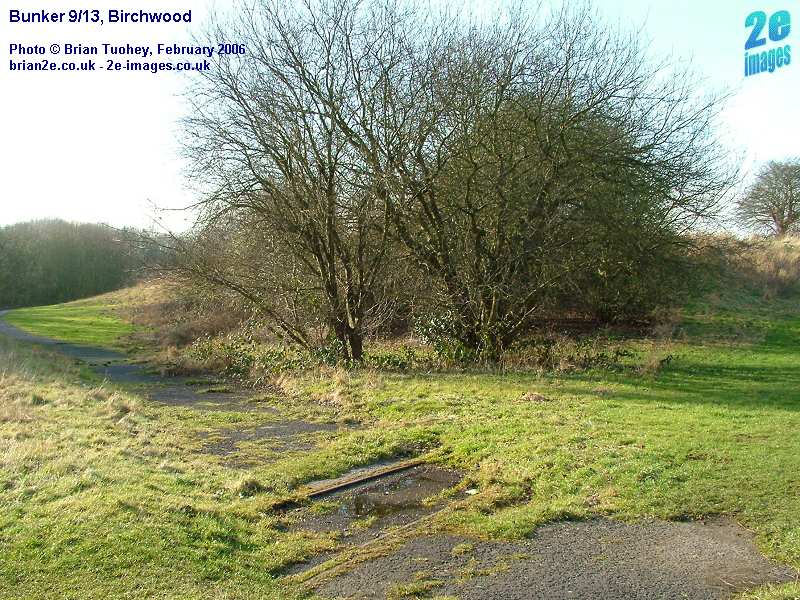
Bunker 9/13 With its prominent position at the south end of the park and retaining a recognisable shape, 9/13 is perhaps the easiest of the old bunkers to spot. Modern maps show that the hill has been extended compared to the bunker that sits beneath it. It appears to have almost doubled in width and its western edge almost overlaps with the position of the demolished bunker 9/2. Its smaller entrance faces the park close to the main path and is clearly visible in winter through of trees around it. This was on the corner of the original bunker. The area to the south of 9/13 and 9/14 still has short sections of rail track visible. The entrance to 9/13 is heavily overgrown and has also been filled in (difficult to check because it is so overgrown, but I had to make sure!) and there is a short section of track that leads directly into it. The first three photos show 9/13 from different perspectives, firstly from the top of 9/14, then from across the park, and finally from the side of 9/1, looking across the service road (once part of Street No 5) and across the marshy field where 9/2 once stood. The 4th picture shows the smaller entrance behind a park bench and the next picture shows the railings. The next 3 pictures show the rail track outside the larger entrance.
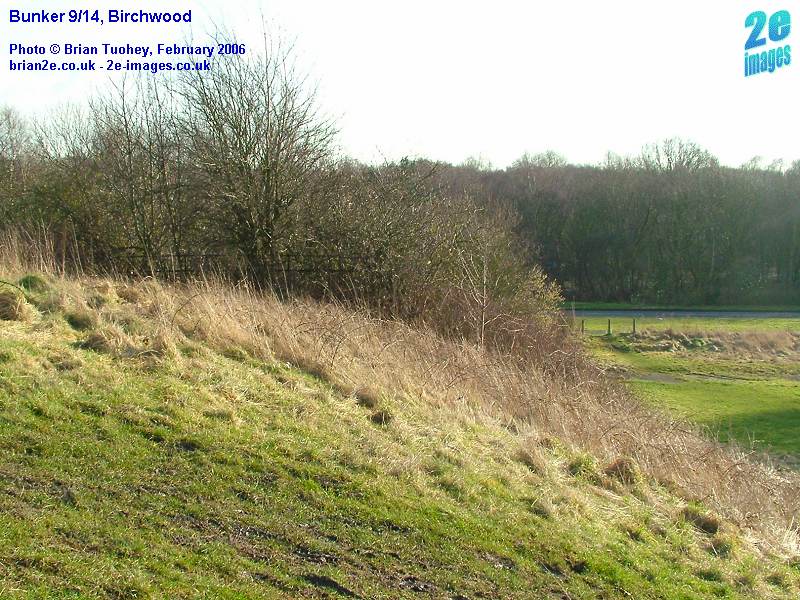
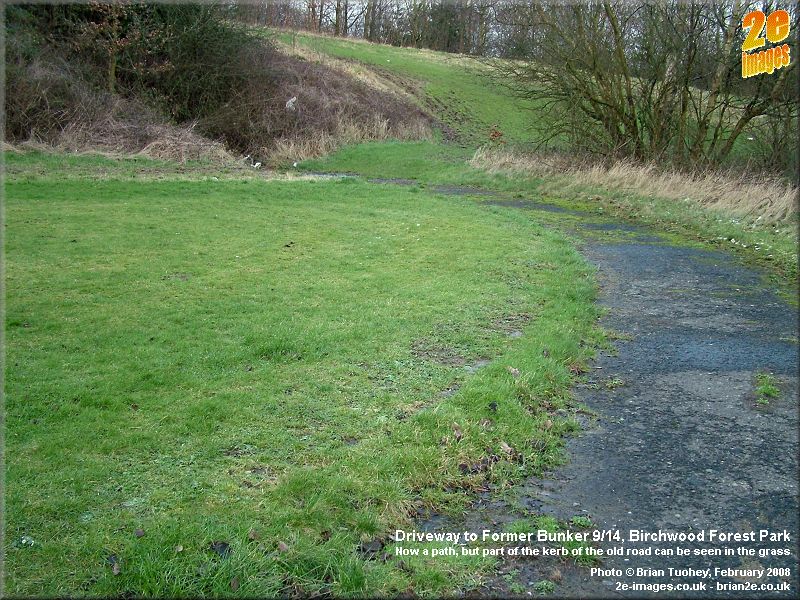
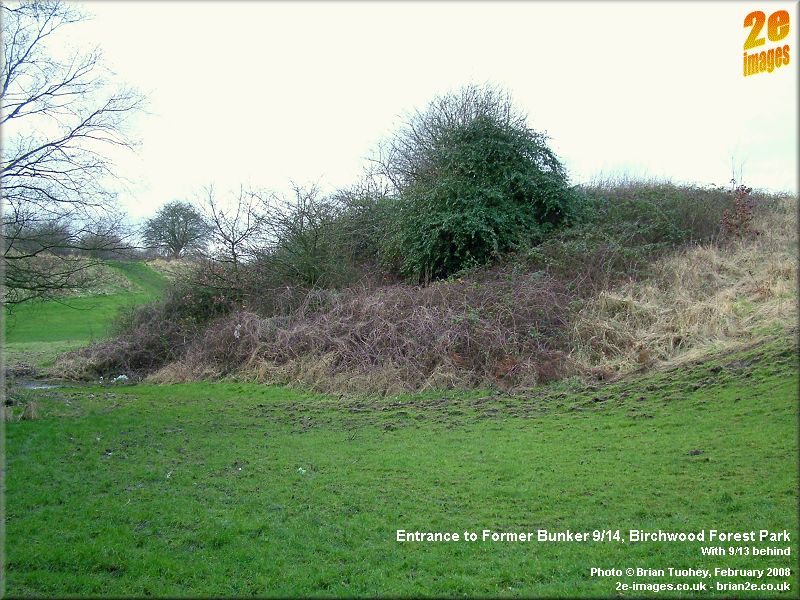
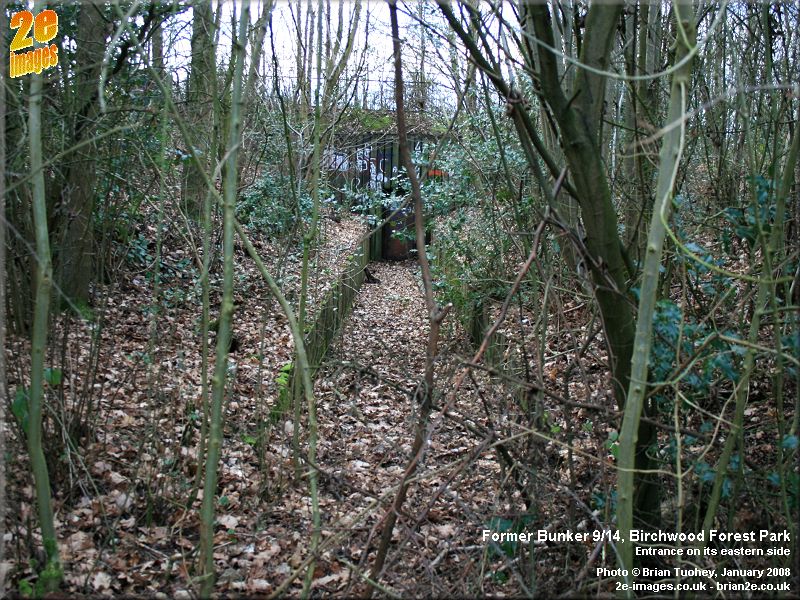
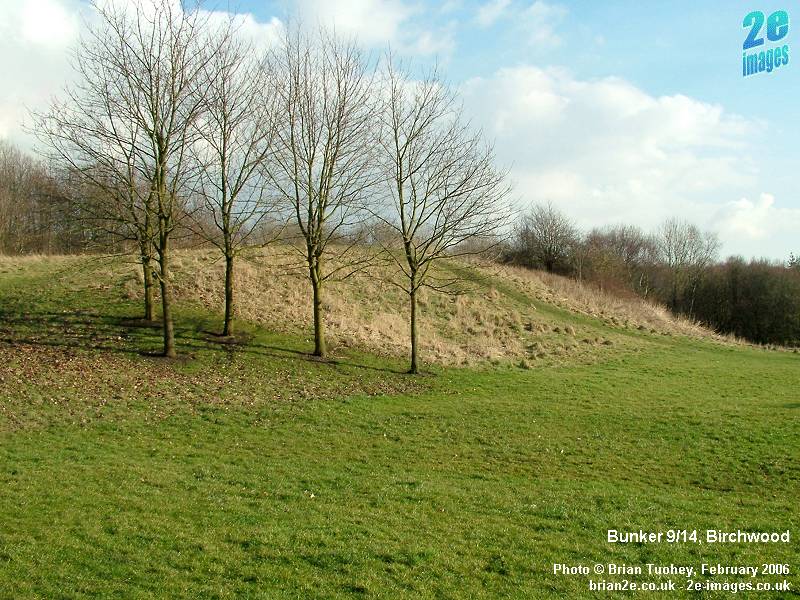
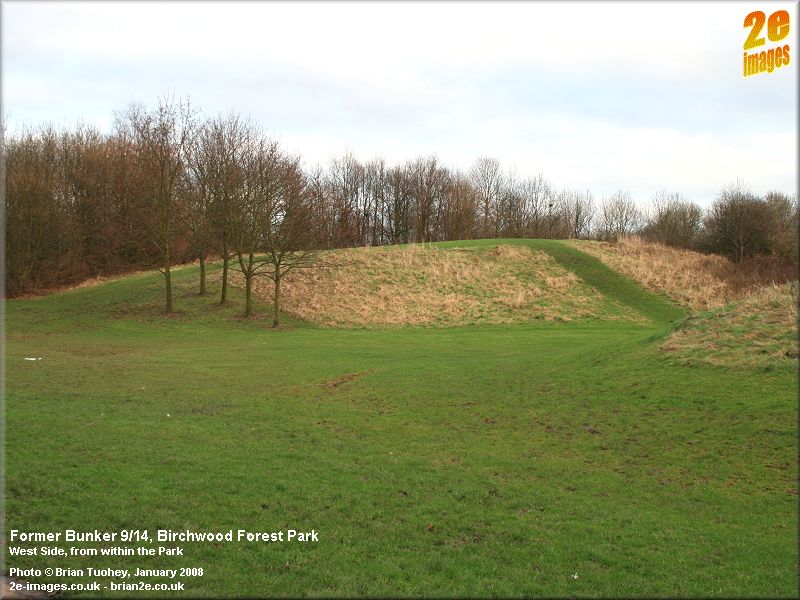
Bunker 9/14 Tucked away in the corner of the park near Risley Moss, 9/14 is less obvious. Part of it is covered in trees and bushes and its side entrance, hidden by greenery for much of the year, is actually outside the park. The first photo is taken on the bunker, looking towards the railings at its road and rail entrance with Ordnance Avenue in the background. This entrance can also be seen on the next two photos, the first of which shows the path leading up to it. This was once the driveway from Street No 6 and the kerb, now overgrown, can just about be seen in the grass. Picture 3 was taken when I was looking to see whether there was any trace of the rail track. I didn't find any. The smaller entrance, on the side, is shown in the 4th photo. The remaining photos are views of and from the bunker.
Street No 6 As far as I know, there are no visible remains of the street itself, but there is a small section of railway between 9/13 and 9/14 as it curved to run along the edge of the road. The road ran in a straight line past the back of where the the Ranger Centre now is, across Moss Gate and finishing where it met Avenue B East in what is now Bramshill Close.
|
|
Updated 11/10/11 |
|